Integrating a HuskyLens smart camera with LEGO MINDSTORMS EV3 can transform your robotics projects by adding powerful vision capabilities. This guide will walk you through the steps needed to make this exciting combination work, enhancing your creations with advanced image recognition. Whether you’re a teacher looking to enrich your STEM curriculum or a hobbyist eager to upgrade your robotic builds, this tutorial is for you.
Required Materials
Before we dive into the setup process, ensure you have the following items ready:
- A LEGO MINDSTORMS EV3 brick, along with the mini USB cable.
- A laptop running Windows, macOS, or Linux (Visual Studio Code should be installed).
- A HuskyLens smart camera.
- A microSD card.
- An EV3 Smart Camera Breakout Board.
Step 1: Set Up VS Code and extensions on Your Laptop
First things first, let’s get your laptop ready. Open Visual Studio Code and install the LEGO® MINDSTORMS EV3 MicroPython extension if it’s not already installed.

Next, create a new window in VS Code and select ‘Clone Git Repository’. Paste this link to use the library: https://github.com/antonvh/PyHuskyLens. This library is essential for integrating HuskyLens with your EV3. The follow the steps to choose a location to save it on your computer.
Step 2: Set Up Software on the EV3 Brick
Now let’s prepare your EV3 brick. Visit https://www.ev3dev.org/docs/getting-started/ and follow the instructions to download ev3dev and write the image onto your MicroSD card. I recommend attaching a piece of tape to the SD Card for easy removal later. Boot up your EV3 brick with this newly prepared SD card inserted.
Step 3: Wiring the HuskyLens to your LEGO MINDSTORMS EV3 Brick
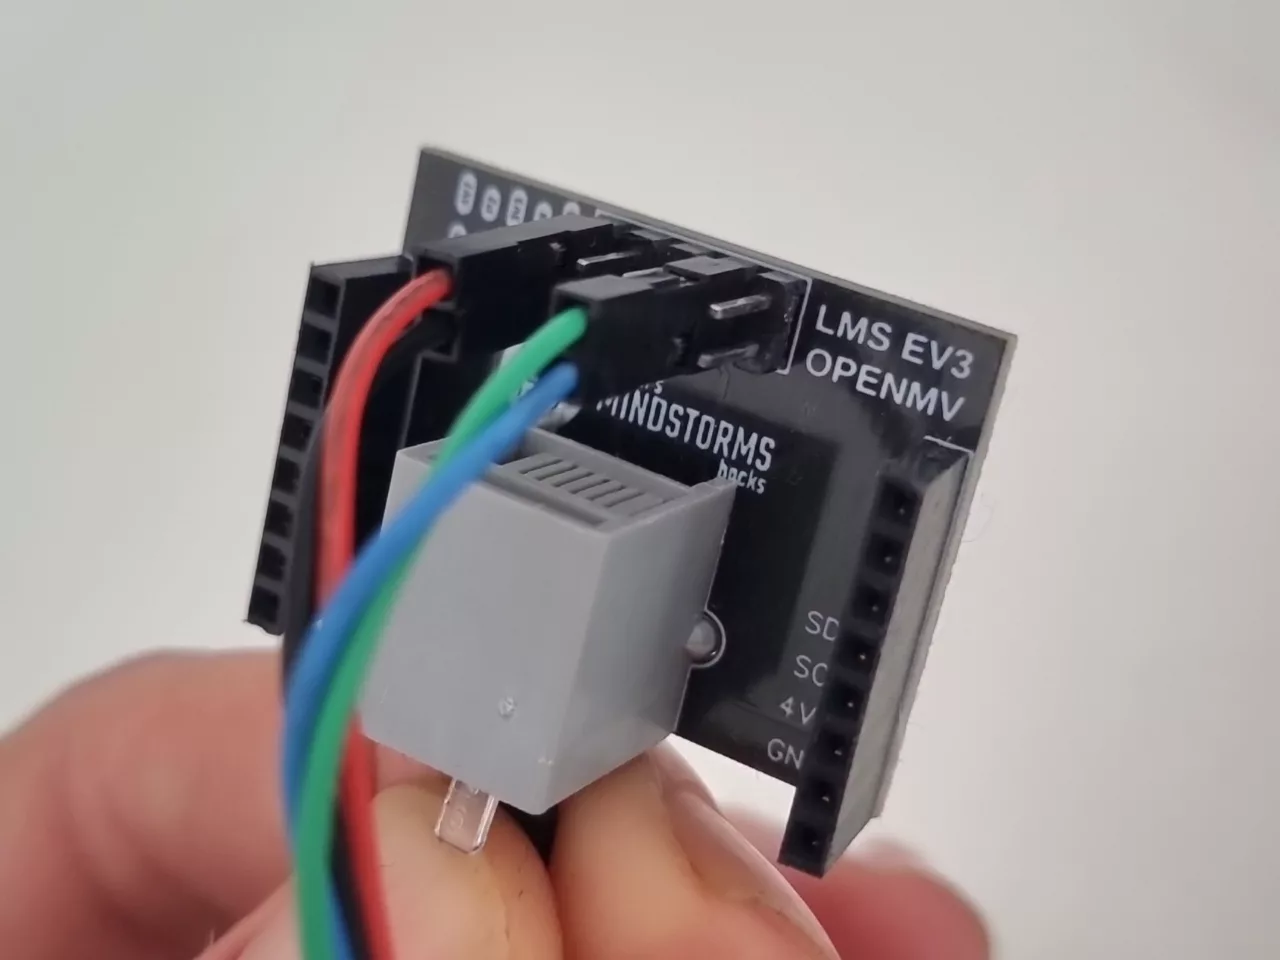
- Use the jumper wires provided with HuskyLens to connect it to the EV3 Smart Camera Breakout Board. Attach red to the 4v7 pin, black to GND, green to RX, and blue to TX.
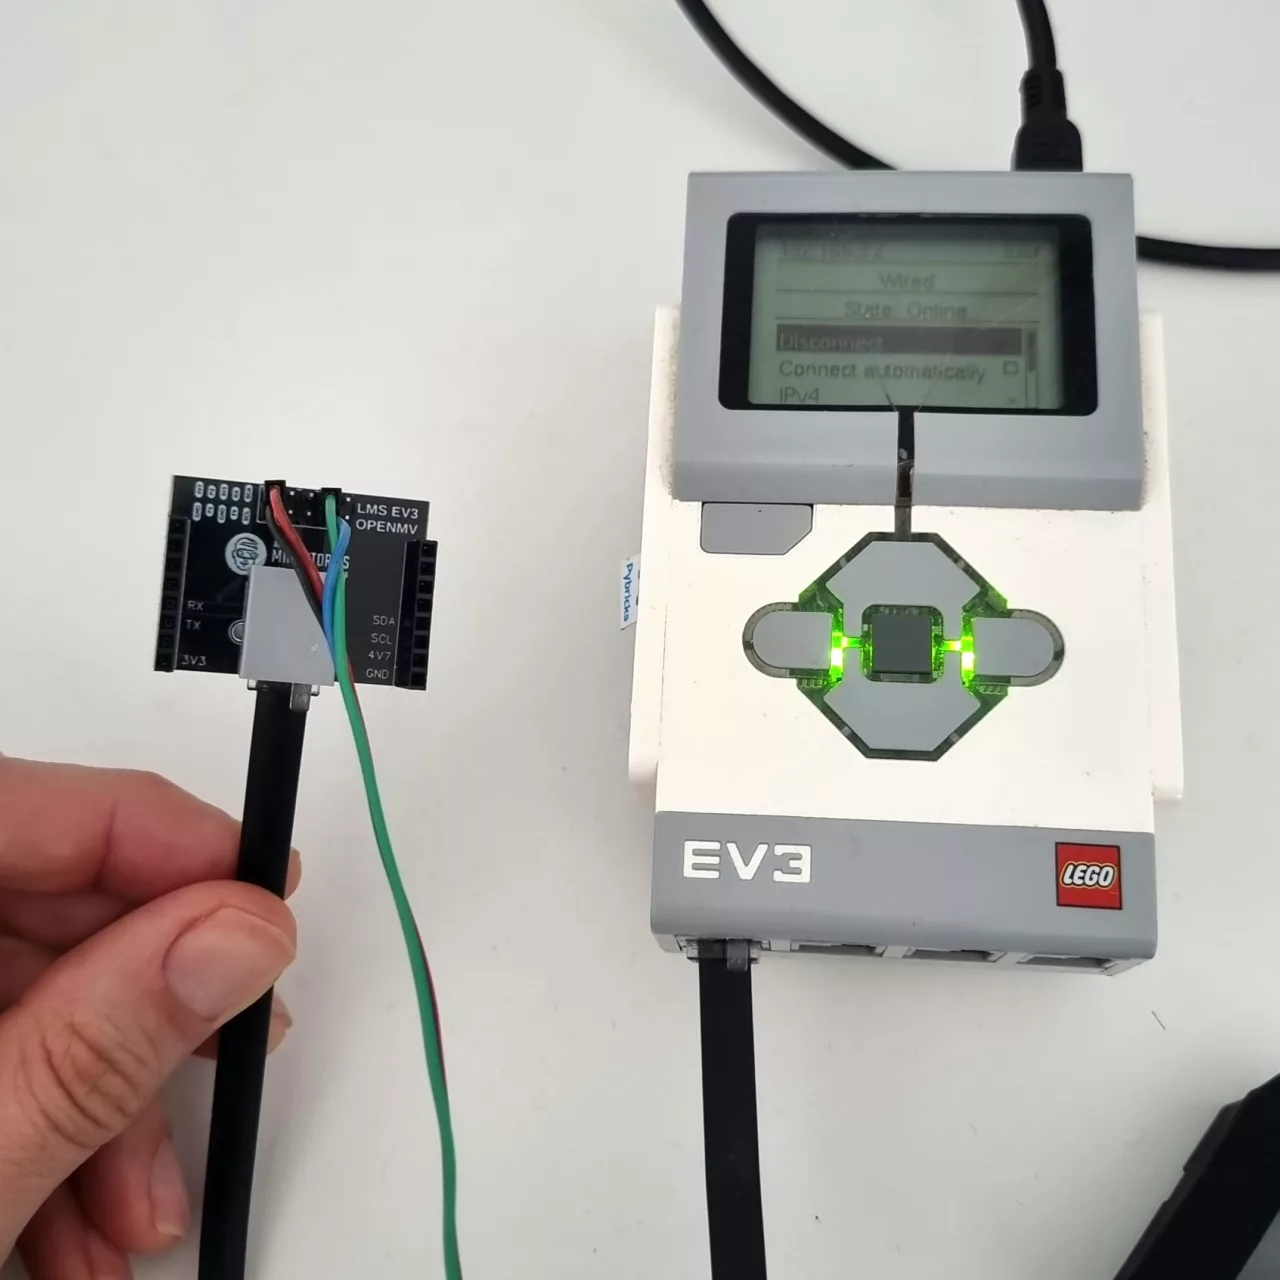
- Connect this board to Port 1 on your EV3 hub using an EV3 cable.
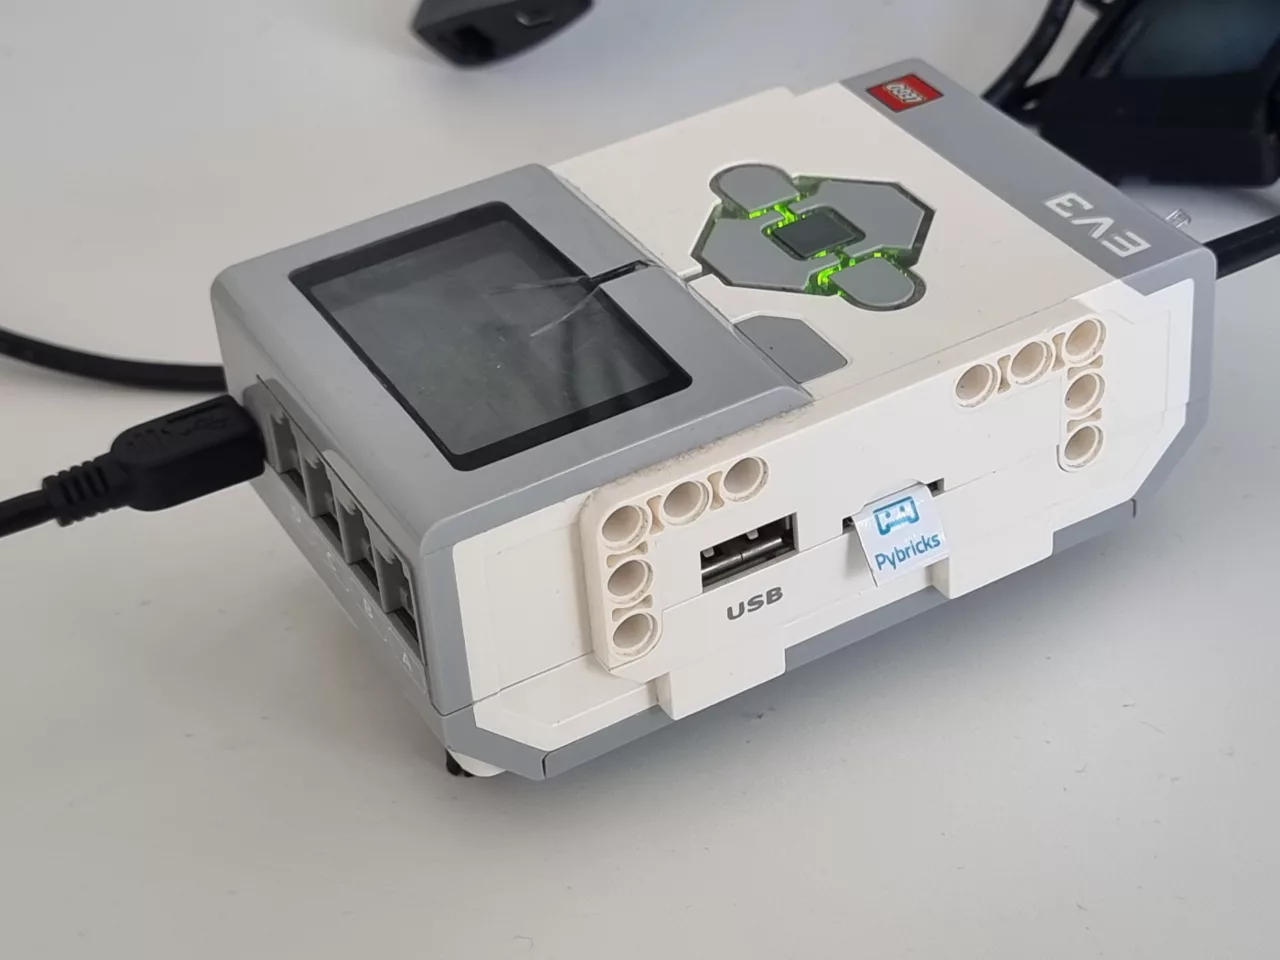
- Finally, connect your EV3 hub to your laptop using the mini USB cable.
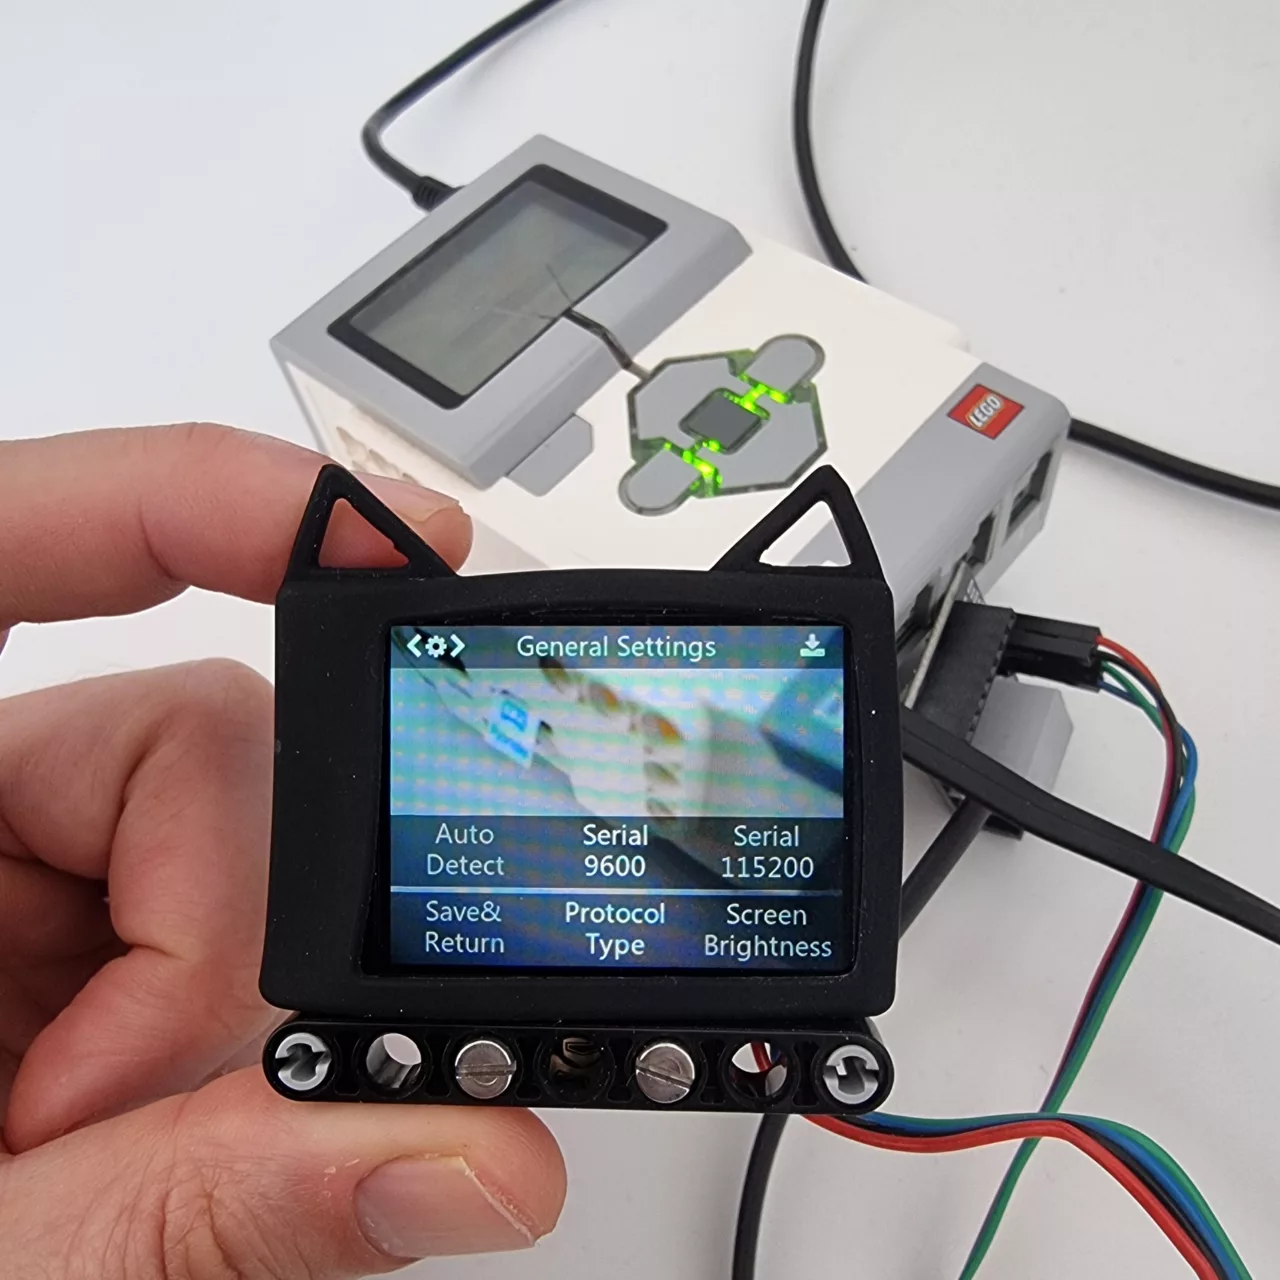
Step 4: Configure HuskyLens for 9600 baud serial communication with EV3
If the EV3 brick is powered on, and the EV3 Smart Camera Breakout Board is connected to sensor port 1, the HuskyLens should power up
- Go to General Settings > Protocol Type
- Select Serial 9600
- Save these settings by selecting Save&Return and confirming with Yes.
Step 5: Run a Test Project
Back in Visual Studio Code:
- Open a new window (cmd-N) and navigate through File > Open…
- Locate and open the folder named
EV3_Facefinderwithin PyHuskyLens directory.
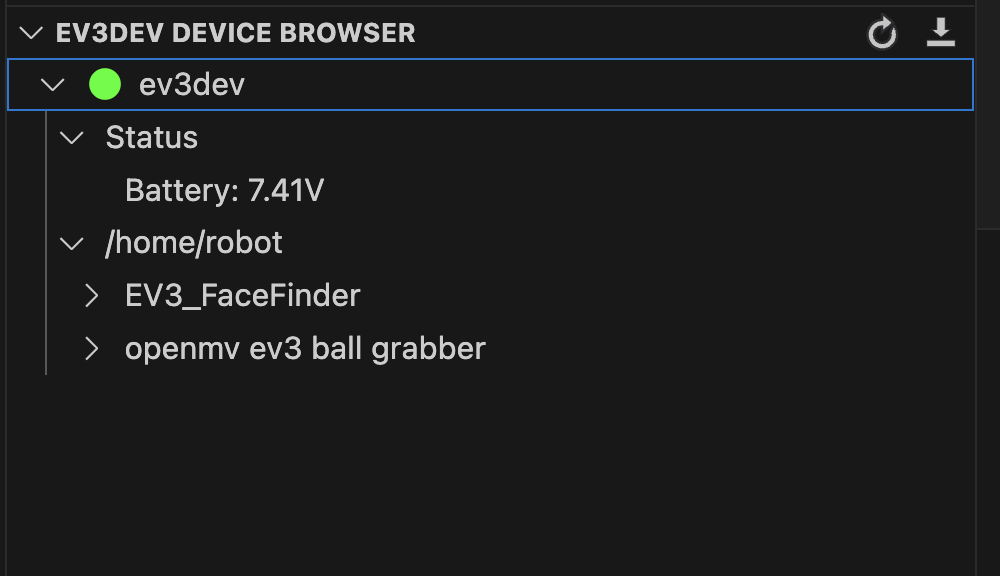
Under ‘EV3DEV DEVICE BROWSER’, click ‘Click here to connect to a device’.
Select ev3dev from options; it typically shows as ‘bridge100’ when connected via USB.
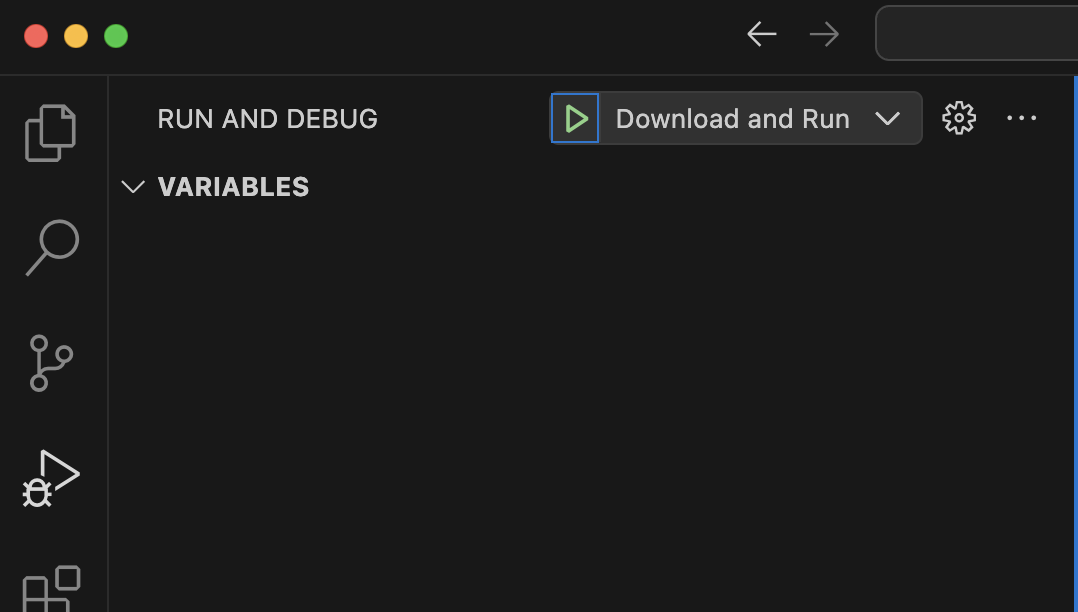
A green dot indicates successful connection. - Run this project by pressing F5 or navigating through Run > Debug > Download and Run button on top.
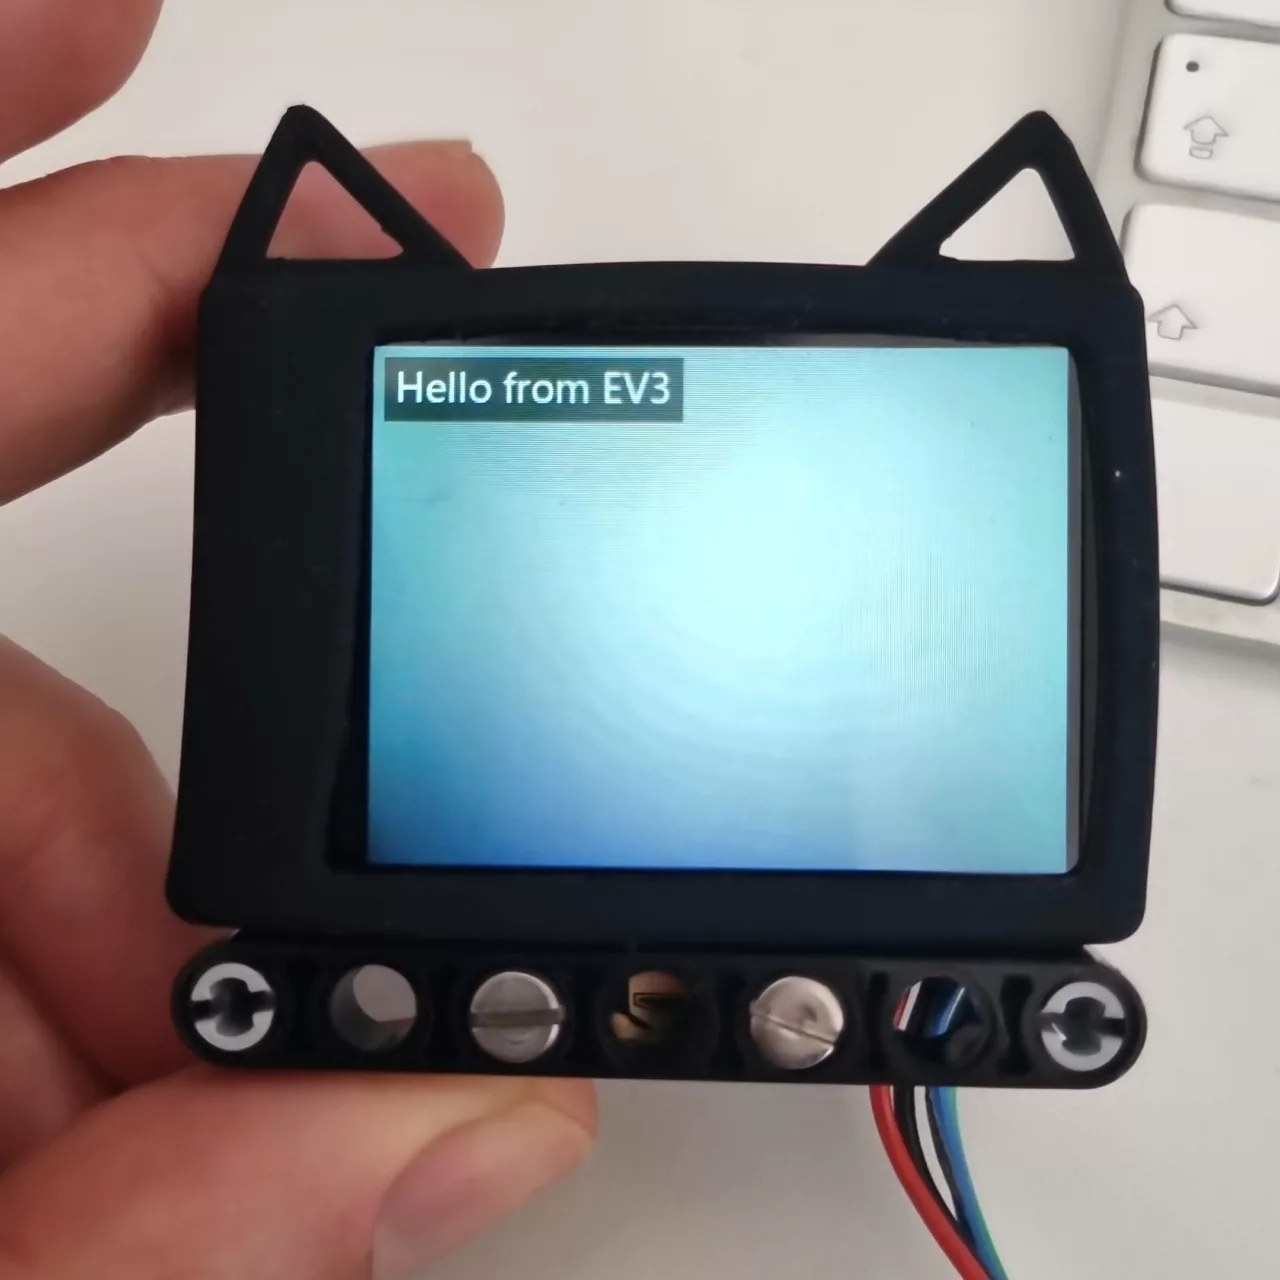
If everything is set up correctly, you’ll hear a beep from EV3 brick and see ‘Hello from EV3’ displayed on Huskylens.

Step 6: Create Your Own Project
Now that you’ve tested and everything works:
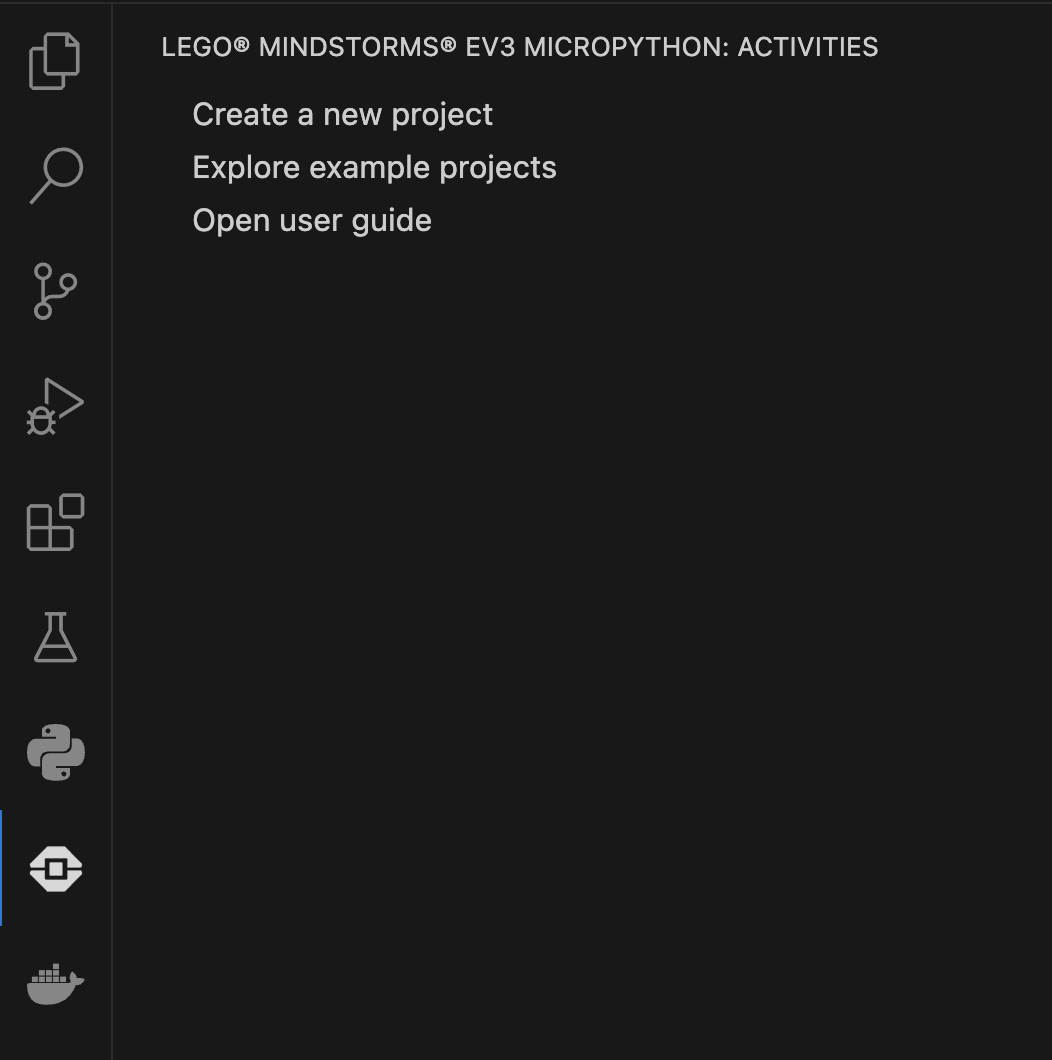
- In VS Code sidebar click on LEGO MINDSTORMS Icon then ‘Create a new project’.
- Make sure
pyhuskylens.pyis either symlinked or copied into your new project directory so that you can addfrom pyhuskylens import *among imports. - Open
pyhuskylens.pyto find out what methods you can use in the HuskyLens class. - New to EV3 python? Follow a tutorial on Pybricks.com.
Congratulations! You’re now ready to explore endless possibilities with HuskyLens and LEGO MINDSTORMS EV3 at your disposal! Understanding how these technologies work together opens up vast opportunities for creating more interactive and intelligent robots that can see and understand their environment—ideal for both educational purposes and personal enjoyment in robotics.