Introduction
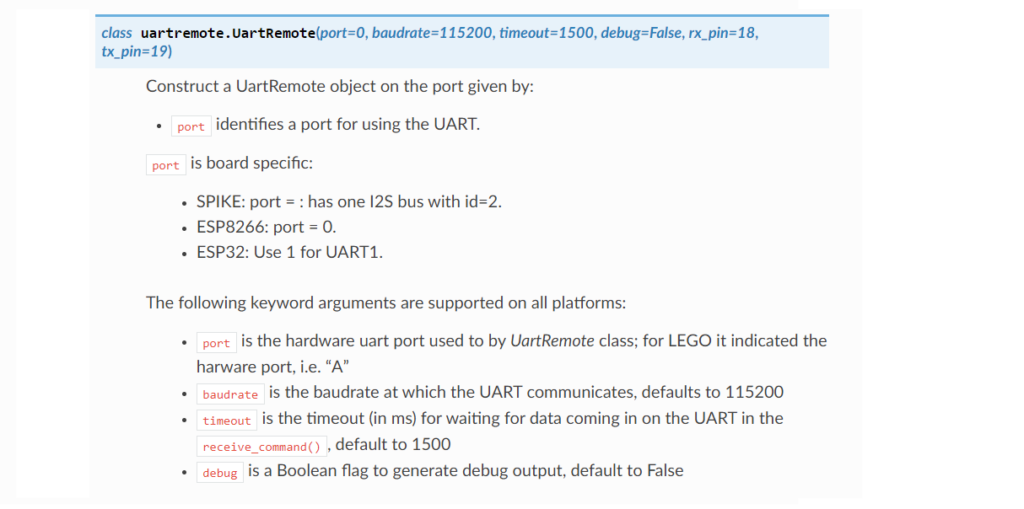
In this tutorial, you will learn to set up communication between a SPIKE Prime or MINDSTORMS hub and the lms-esp32-wifi-board. We’ll show you step-by-step how to use the UartRemote library. The UartRemote library helps to make the communication between the Lego hub and the LMS-ESP32 board easier. It allows calling functions from one device running on the other device. You can find the library here: https://github.com/antonvh/UartRemote. Documentation of the library can be found on this readthedocs page.
Starting the tutorial
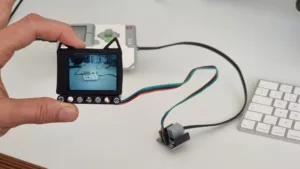
In this tutorial series, we assume you connected the LMS-ESP32 module with your LEGO Technic Hub. This is done by connecting the special cable with the 6-pin header to the LMS-ESP32 module and the LPF2 connector to one of the free ports on the Hub. In our examples, we connect it to port ‘D’. If you connect it to another port, keep in mind to change the port in your code accordingly.
Follow the YouTube video below to program an LED light, do some simple math remotely, and set up a dummy sensor.
Code for the tutorial
If you follow the tutorial and type along, you will receive the full demo code. The demo code can be found in this GitHub repository. You will end up with a similar code as in the demo_uartremote.py file.
from uartremote import *
import random

ur=UartRemote()

def led(nr,r,g,b):
    print('nr,r,g,b',nr,r,g,b)

def sensor():
    return random.randint(100,200)

def mul(a,b):
    return a*b

ur.add_command(led)
ur.add_command(sensor,'repr')
ur.add_command(mul,'repr')

ur.loop()
On the Lego Hub, you will need code like this:
from projects.uartremote import *
ur=UartRemote('D')

ack,result = ur.call('sensor')
print("sensor = ",result)

ack,result = ur.call('mul','repr',4,5)
print('multiply result=',result)

ack,result = ur.call('led','repr',1,2,3,4)
Need more help with MicroPython, LEGO MINDSTORMS Hubs, and NeoPixel LEDs?
This tutorial is part of a multi-part tutorial. First, we set up the hardware, then we explain communication; next, you’ll learn about controlling RGB LEDs and then about I2C joysticks. You can also load MicroPython modules dynamically with our library. And there are more libraries to come.
We’d love to see what you build, and maybe we can help you with some questions. Drop us a line on Facebook!

