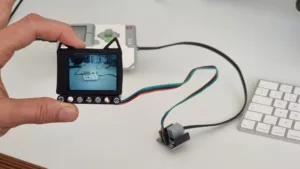
We created some custom blocks in Pybricks Block Coding, to make it easy for you to integrate a gamepad controller in your block code. Any kid can do it! In this blog you get an overview of all blocks we created and the way they work. The only things you need for lagless remote control are an LMS-ESP32 board and any Bluetooth gamepad controller.
Downloading the PyBricks Custom Blocks
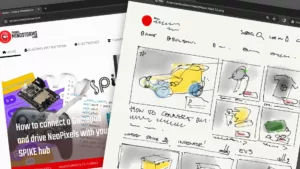
We have a step-by-step tutorial for gamepad controller block coding with Pybricks. The tutorial is easy for beginners. If you know your way around Pybricks and Github, you can get the blocks from our PUPRemote github repository. Just import these files into Pybricks:
- pupremote.py
- bluepad.py
- blocks_bp.py
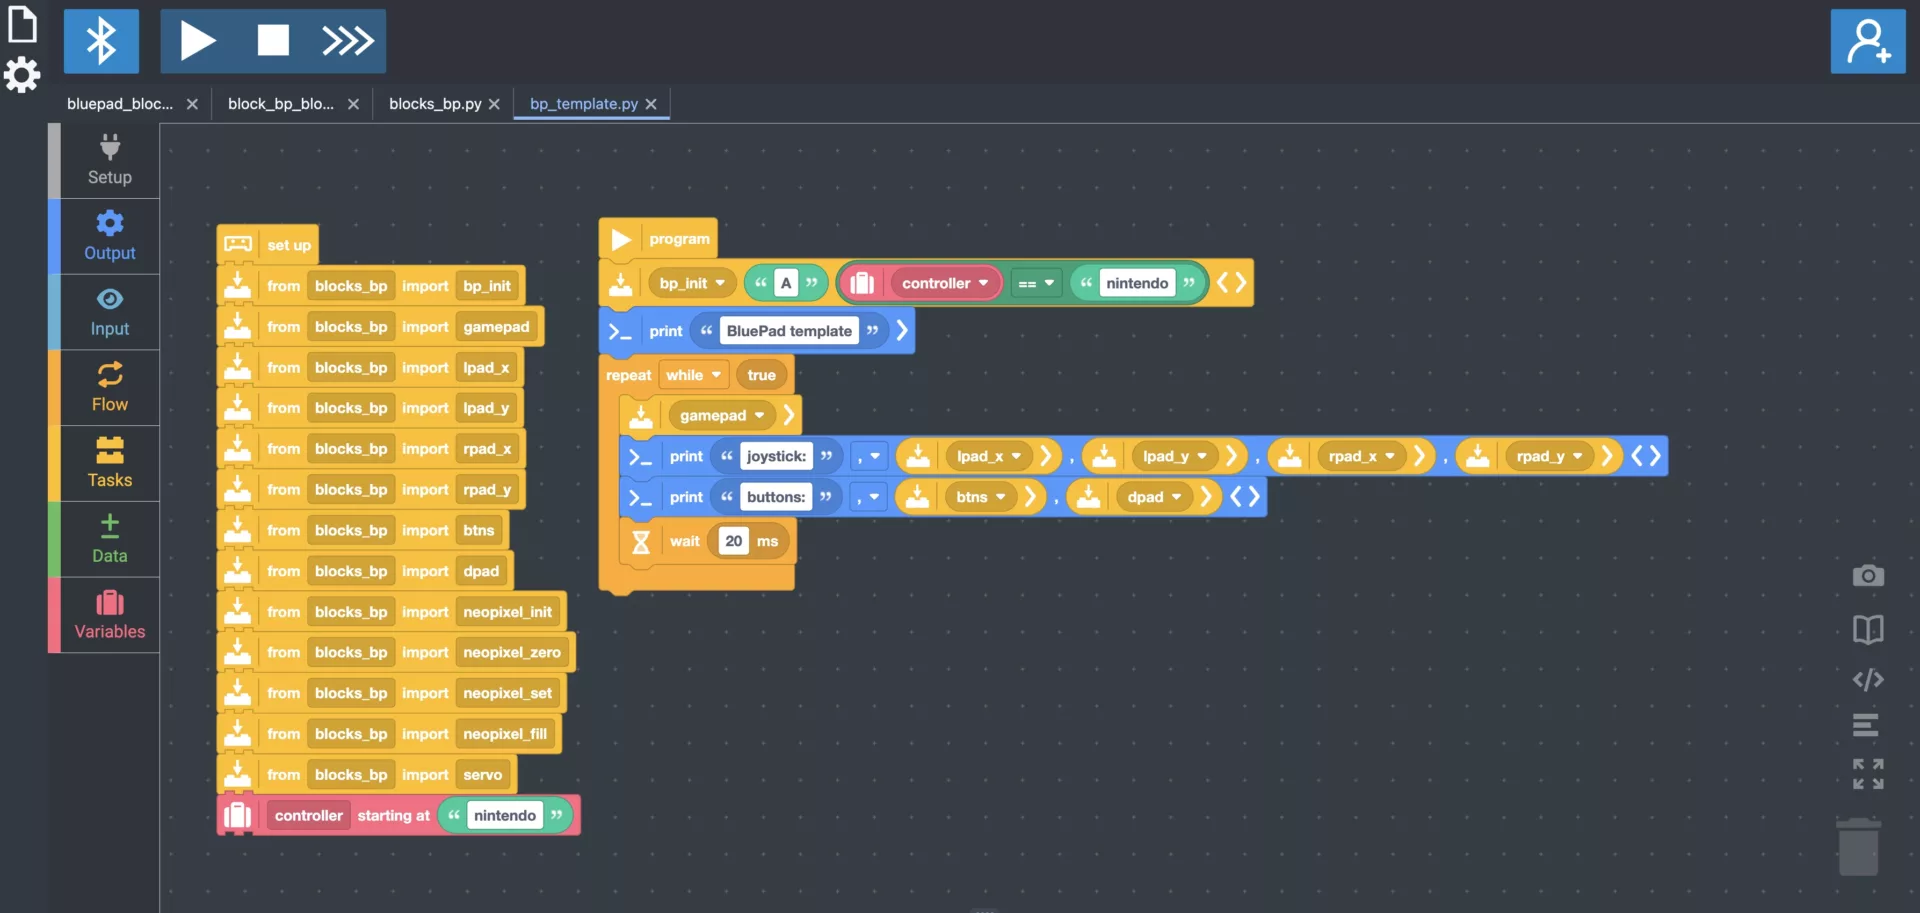
Initialization of BluePad
bp_init(port, nintendo=True)
This block initializes the BluePad library and must be used once in, the beginning of your program.

The second parameter determines whether the buttons are mapped according to Nintento, or to another (PS4) controller.
By setting a variable called controller, you can set this automatically. This is the way it is done in the bp_template.py, as shown below.

Reading the Gamepad
gamepad()
The gamepad values are continuously sent to the Lego brick. The gamepad function processes these values. Therefore, a call to the gamepad should be put in a loop of your main program. Values are only updated by calling the gamepad function.
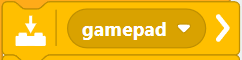
Once the gamepad function is called, the following values are available as the following PyBricks blocks.
lpad_x()
This gives the x-coordinate of the left joystick. Usually, this is a value between -512 and +512.

lpad_y()
This gives the y-coordinate of the left joystick.

rpad_x()
This gives the x-coordinate of the right joystick.

rpad_y()
This gives the y-coordinate of the right joystick.

btns()
This returns a string containing the buttons pressed. For PS4-like controllers these are ‘#’ for the square button, ‘^’ for the triangle button, ‘O’ for the circle button, and ‘X’ for the cross button.

Nindento-based controllers return the following buttons: ‘B’, ‘A’, ‘Y’, ‘X’, ‘L’, and ‘R’. The ZL and ZR buttons are mapped to ‘1’ and ‘2’, respectively.
dpad()
This function returns the orientation of the DPAD using a string referring to the direction: ‘L’, R’, ‘U’, and ‘D’. When buttons are pressed simultaneously, the string contains all the buttons.

Controlling NeoPixels
neopixel_init(br_pixels, gpio_pin)
To initialize the NeoPixels, use the following function call, where nr_pixels is the number of NeoPixels in your setup, and GPIO pin is the hardware GPIO pin to which you connect the data line of the NeoPixel array.

neopixel_zero()
Switches off all the NeoPixels in the array

neopixel_set(n ,r, g, write = True)
Sets the n-the NeoPixel to the color (r,g,b).

The default behavior is that the pixel is written to the physical NeoPixel immediately. With an additional fifth boolean argument, you can specify the write behavior.

neopixel_fill(r, g, b)
Fills all neopixels with the same color (r,g,b).

Controlling Servo Motors
servo(servo_nr, angle)
Sets the servo servo_nr (servo number 0 is connected to GPIO21, 1 to GPIO22, 2 to GPIO23, and 3 to GPIO25) to angle. Usually angle is between 0 and 180 degrees.

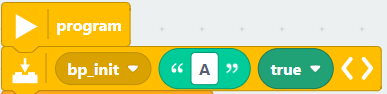
Initialize the BluePad library for PyBricks Custom Blocks
Before you can use any of the BluePad functions, you need to initialize the BluePad library. Below you can see a typical initialization for a Nintendo controller (hence the true as the second argument), where the LMS-ESP32 is connected to Port A. If you connect a Playstation controller, use false instead.
Do not forget to call the gamepad function
Every time you need to read out the values of the gamepad, the gamepad function needs to be called. A good way of incorporating this in your program is to call the gamepad function in the main loop of your program.
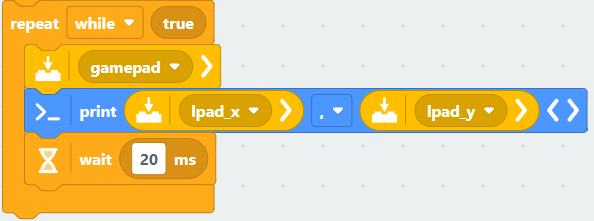
In the main loop there is a wait block. Usually 20 ms is about right for reading the gamepad. If you have a lot of NeoPixel or Servo motor instructions in the loop, you might need to increase the wait time to 50ms to throttle the traffic that is send to the LMS-ESP32.
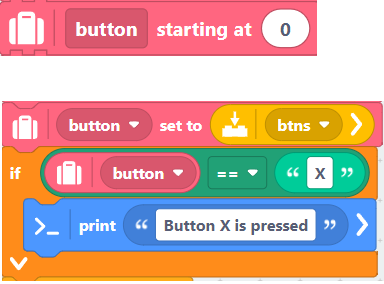
Use the gamepad function directly in expressions
The gamepad functions such as lpad_x, lpad_r, etc., and btns and dpad cannot always be used directly in an expression. As a workaround, you first need to assign a variable with the value of one of these functions, and then use the variable in the expression.
For instance, if we want to check whether a specific button is pressed on the gamepad, we need the following code, where you add the variable definition to the setup blocks. Before doing the comparison, you assign the btns function to the variable button and use the button variable in the comparison.
Watch the video to see the PyBricks Custom gamepad Blocks in action
You can see the usage of Blocks PyBricks in the video tutorial. All the code is available in our PUPRemote Github repository.
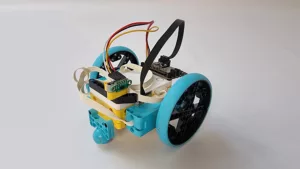
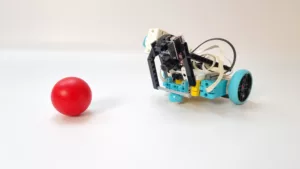
Have Fun with your own gamepad-controlled Pybricks robots
Now it is time to build your favorite robot and start programming it with the Blocks PyBricks. Equip your robot with NeoPixels or Servo Motors and connect a Bluetooth gamepad. Take the template or one of the example files as a starting point